

Stamp Carving part 1
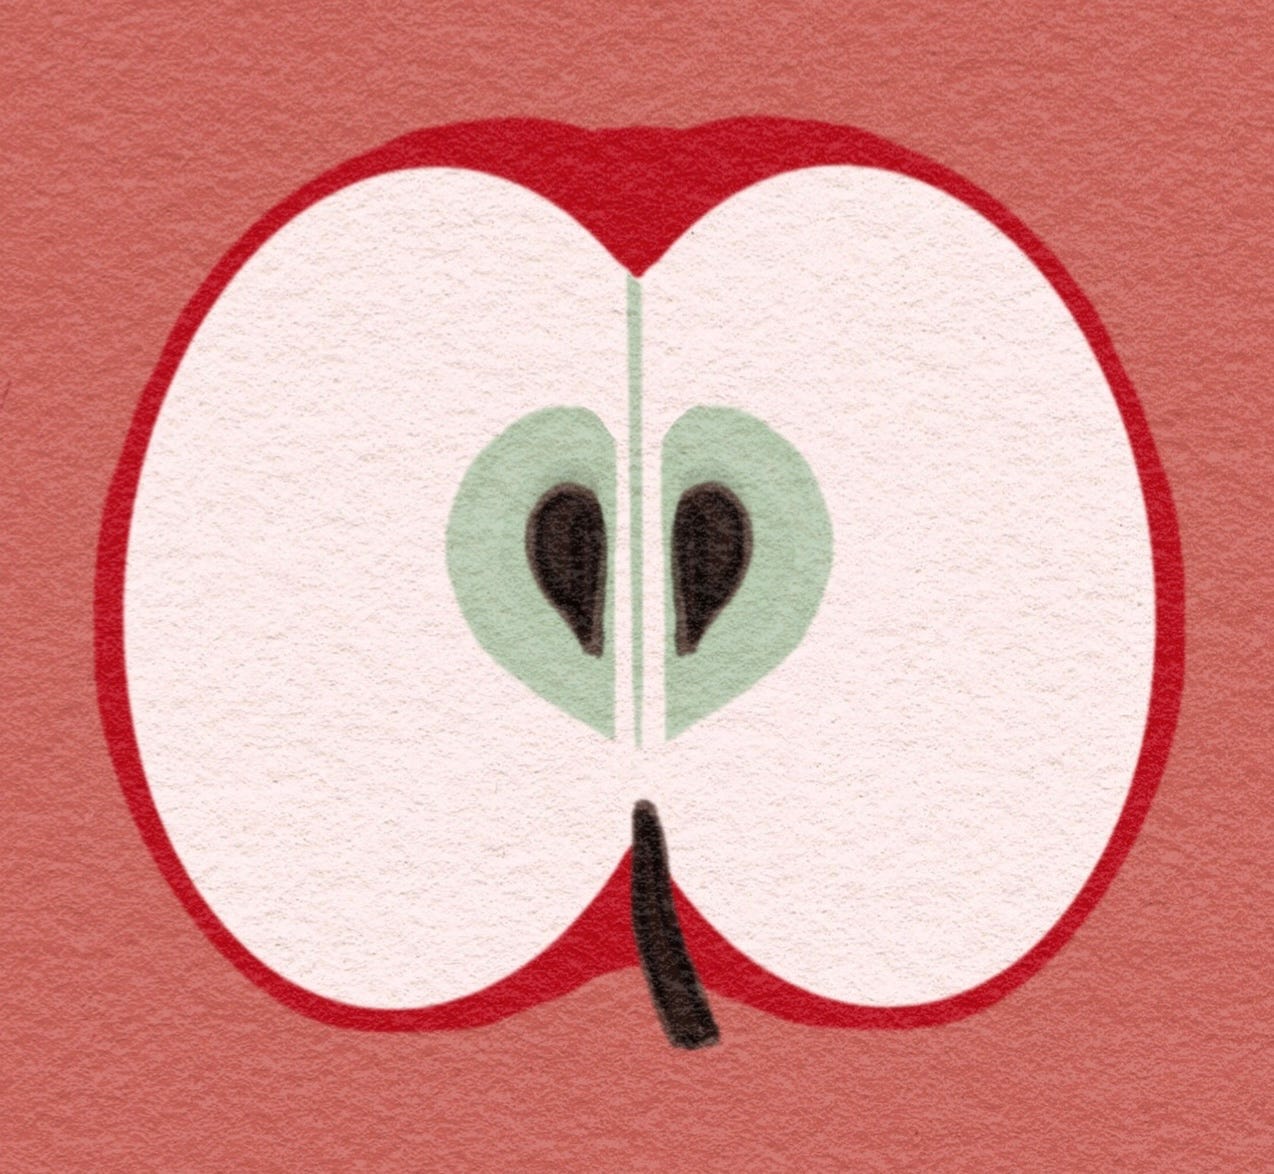
Carving our apple

Hello everyone!
This week so far:
We first drew apples, from life or from photos concentrating on the outline of the apple.
Then we drew a page full of apple leaves based on photos.
We decided how big we wanted to make our stamp and drew the apple shape we liked on a piece of tracing paper. We adjusted the shape to make it more symmetrical (personal choice).
We then chose a leaf we liked and traced it onto the same drawing.
REMEMBER you can also make a simple, cute apple, with a classic apple shape and a classic leaf shape, it is not necessary to make a realistic apple.
Next we placed our tracing paper face down on our carving rubber and rubbed the back of the paper to transfer the design, to make two separate stamps: one stamp for our apple and one stamp for our leaf.
Now it is time to carve our apple.
To carve any stamp, I generally
First use a a fine V-shaped tool to carve the outline.
Then I carve around that outline with a broad U-shaped tool.
I then use the fine V-shaped tool again to make the edge of the stamp cleaner (without touching the original outline).
When I am happy that the edge is clean I cut off the un-carved rubber with a cutter.
I then use a craft scalpel knife to cut exactly around the edge of the carved shape. This makes it possible to position your stamp with precision when you are printing.
That is the basic procedure I follow.
If you are enjoying this stamp-making process and would like some support and company on your block-printing journey, consider becoming a supporting subscriber (I would really appreciate it!)
Here is a short video of me carving my apple stamp.
Keep reading with a 7-day free trial
Subscribe to Poetic Printing to keep reading this post and get 7 days of free access to the full post archives.